How to Make Cute Reunion Shirts In A Matching Color Scheme

This summer my family and I had a reunion camping at Niagara Falls. My sister wanted custom shirts and we told her I could make them with the Cricut. I had a made a few custom shirts before. What was really important to me is they had a cute design and were comfortable to wear. She sent me the template that she liked and we came up with a design on Cricut Design Space. 


Cricut Design Space really likes to get more money and has a subscription service. I already pay for the Adobe Suite and do not want to pay more money for fonts and simple designs. I found a picture of Niagara I liked and thickened the lines in photoshop. Then we found some fonts I had on my computer on designed the shirt. I tried using Adobe fonts, but they would not appear in Cricut Design Space. I could have designed the shirts in photoshop and saved it and brought it over, but we were short on time and I did not want to fuss with it.

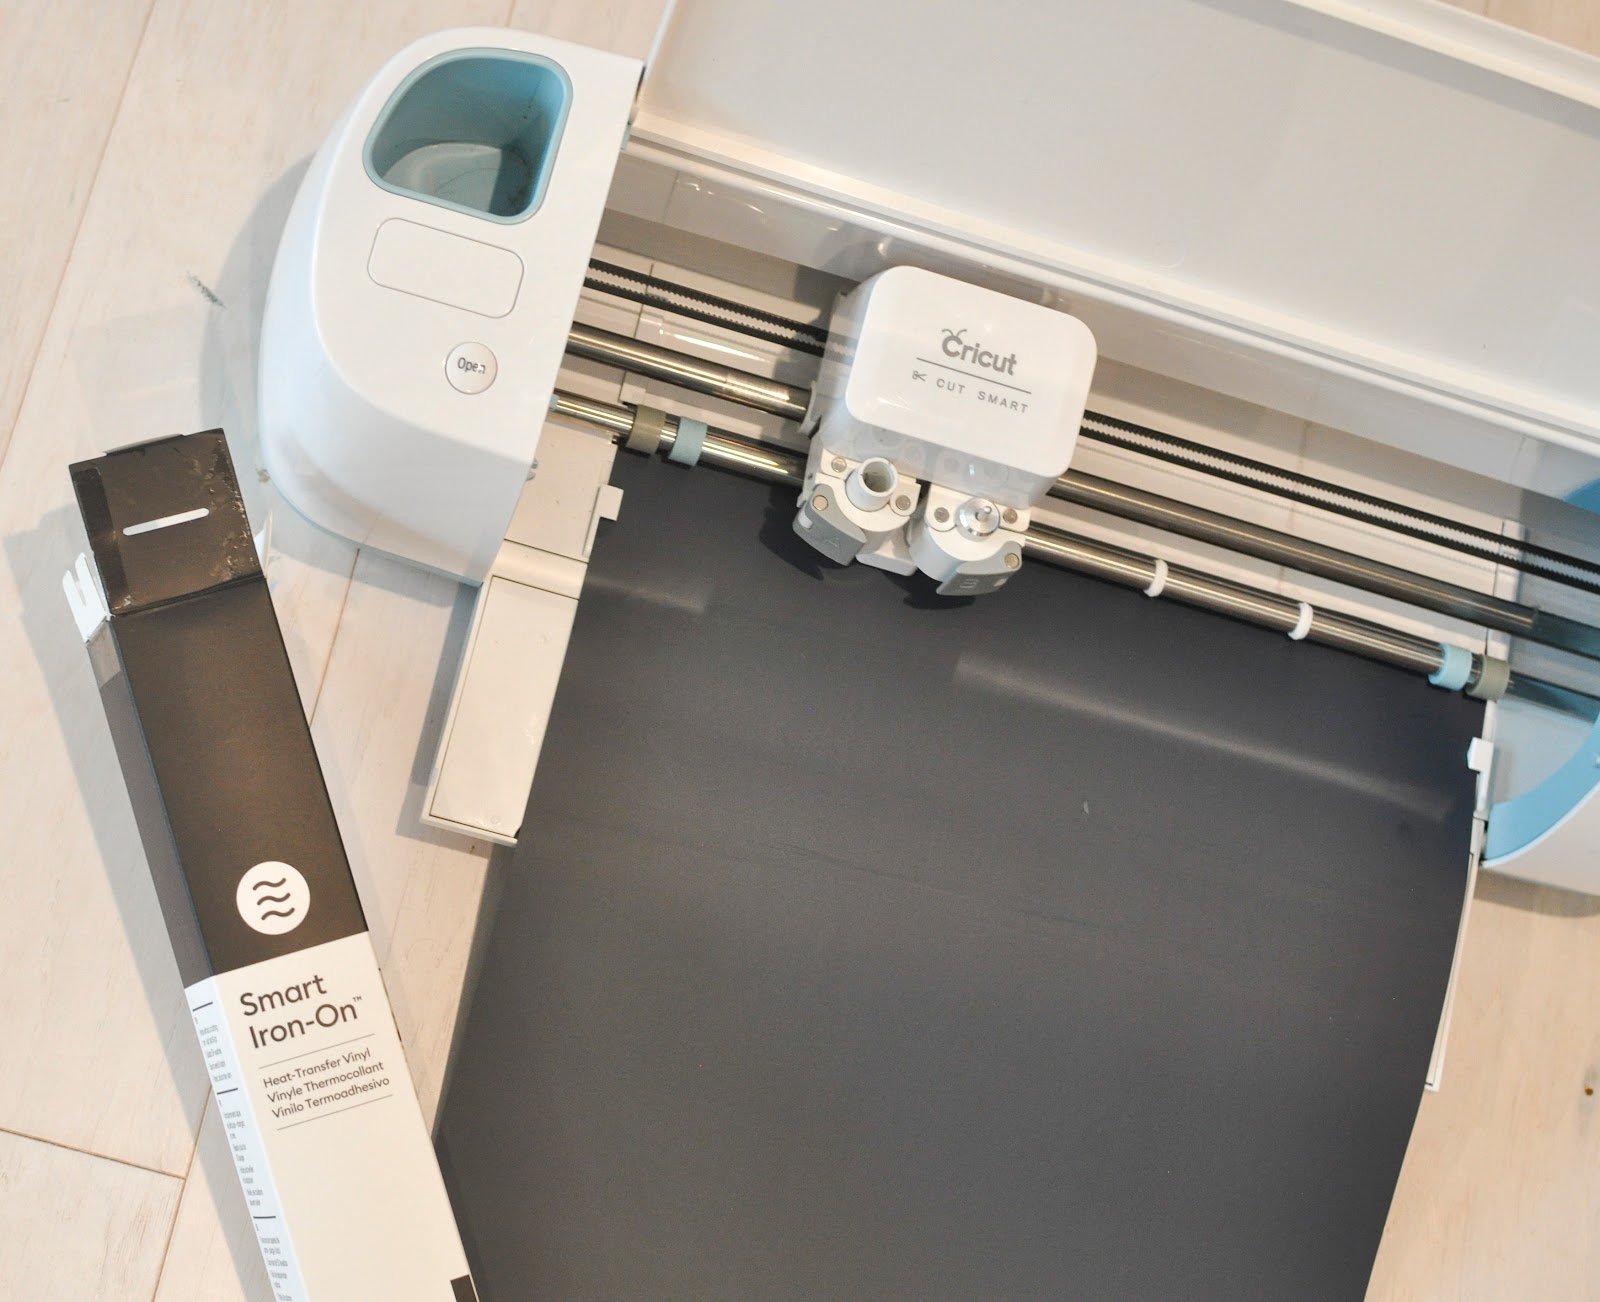
After I got the design ready we found some vinyl, Target is a really good place to get vinyl. It is so much cheaper than Michael's. We did black for the light shirts and white for the darker shirts.


One of the most important things for us was that shirts were not all white and had some personality. Michaels and Joann Fabric have solid color shirts, but they are super scratchy. We decided to go to Target because I knew they had solid color shirts that are comfortable and cute fitting. My family were expecting bright color shirts. But the color scheme at Target was fall colors and I loved them so much more than the bright color shirts they were expecting. Here are all the light colored shirts with all the black vinyl. I did not have time to get all the dark shirts because we were making to the wire because we did not get the white vinyl until a few days later. There were no colors in toddlers that went with the color scheme. We found the toddler shirts at Old Navy.

I also wanted to incorporate the outdoors with the shirts and made sure to prominently feature the falls.


Here is my sister weeding the white vinyl. I really like the smart vinyl because I do not have to do any extra peeling. We ironed them on. For some reason they did not iron on as well this time maybe it's because we were making so many and just trying to get them done fast. I have to reiron mine and my daughters.


Here is my mom and dad wearing their shirts. We had such a fun time. I do not put pictures of kids on my website, but the family picture turned out so cute!

Read More »

Easy DIY Mother's Day Vinyl Hand Print Project


Mother's day is right around the corner and I have a super fun and easy project for you. The best part is that you can make it with your kids. My kids were super excited to make it. And I have a feeling their Grandma's are going to love it. Here are the supplies for the project. I have outlined the supplies and steps using Cricut tools because that is what I have, but other cutting machines can be used as well.
Read More »

DIY Painted and Patterned Canvases


My husband made a set of 4 canvas paintings with flower prints on for our anniversary last year and to say I was surprised and super excited is an understatement.  Here are the instructions on how to make your very own.

Supplies
  • Design or piece of art
  • Canvas or multiple canvases
  • Pencil
  • Transfer paper
  • Paint
  • Paint brushes
  • Picture hanging hardware
  • Ruler
Steps
  1. Find a pattern or piece of art.
  2. Decide how many pieces and how large the project will be when completed.
  3. Enlarge it in a graphic editing program.
  4.  If multiple canvases will be used decide their spacing and set up, remember this information to put the finished art on the wall correctly.
  5. Print out the design.
  6. Use transfer paper and trace the design on the canvas.
  7. Paint the designs.
  8. Paint the edge of the canvas a color darker than the darkest color in the design.
  9. Add hanging hardware the back of the canvas once the paint is dry.
  10. Hang on the wall using the measurements recorded in step 4.


Read More »